Flutter Beginner Tutorial
Flutter is a cross-platform mobile app development framework by Google and is an alternative to traditional Android or iOS development. It’s faster than traditional methods of native development in additon to running on both platforms at once without any major changes.
Let’s begin
This article will dive into a Flutter project and the files it contains as well as building and explaining how the basic app works.
Prerequisites:
Step 1 : Creating a New Flutter Project
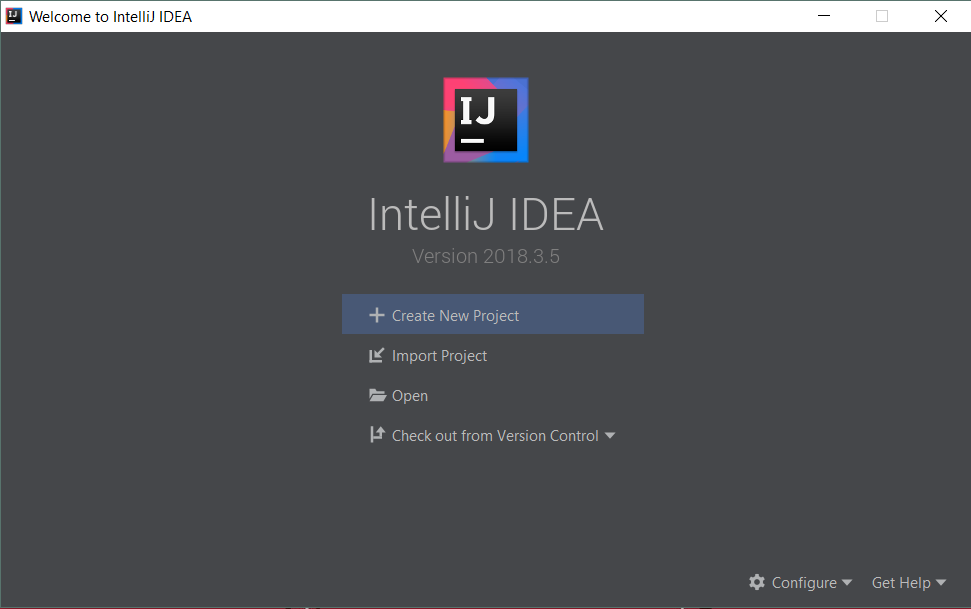
Open IntelliJ IDEA and click “Create New Project” If you are already in project, click File -> New -> Project
Here we want to create a Flutter Application, which is a complete app runnable on iOS/Android. The other options, Plugins and Packages are components written for enhancing and adding functionality to a Flutter app or making common tasks easier. For example, barcode scanners or wrappers for services like Firebase.
All packages are listed on pub.dartlang.org.
Click Next to Continue.
Choose Flutter from the side menu and make sure your SDK Path is correct and refers to the location where you downloaded the Flutter SDK
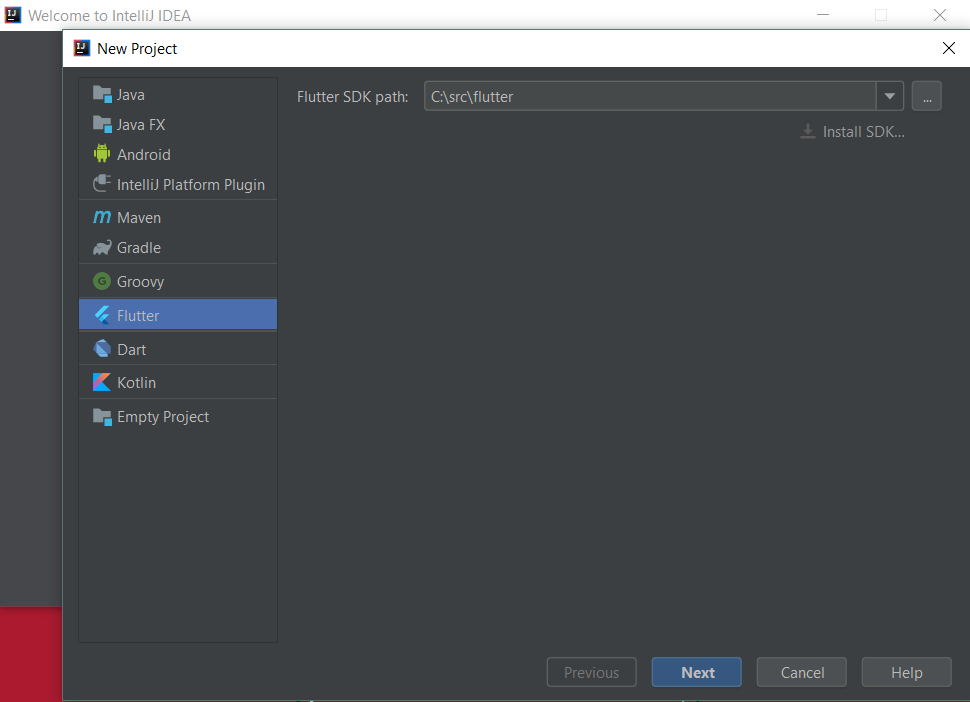
Click Next to Continue.
Give your project a name. For now, I’ll name it hello_world. If there is a problem with SDK path, that might mean Flutter is not correctly installed.
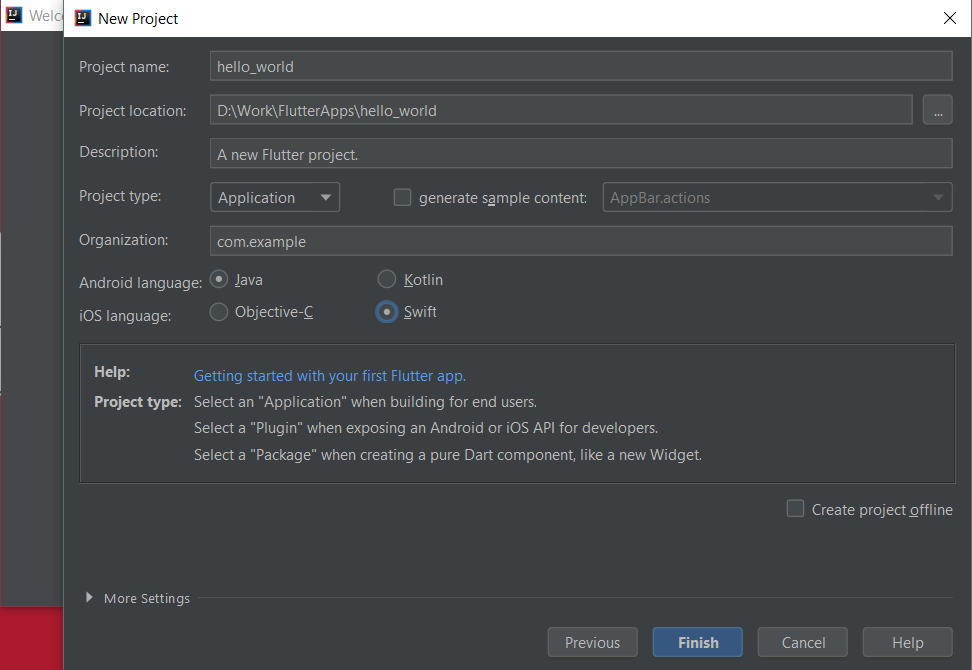
Press Finish to build the project.
Step 2 : Exploring the Project
You’re probably seeing some code on the right and files on the left. The code might seem overwhelming if you’re new to mobile development but it becomes easier as you understand it :)
We’ll come back to the code in a while, let’s understand the files in the project before that.

Simply put, to make a basic app, you only need to focus on the lib directory and the pubspec.yaml file.
The lib directory holds all the main dart code used to run your app where as the “pubspec.yaml” file contains all of the packages you’ve imported.
(For Android Developers: This is equivalent to your gradle files where you add in dependencies)
- In normal Android development you would have separate layout and Java/Kotlin files but Flutter completely does away with that architecture.
- The android and ios directories hold a complete Android and iOS app respectively with all their respective files. For example if you go into android folder, you’ll find a complete Android project including a manifest.xml, activities, gradle files, etc. If you want to write any platform-specific code or add permissions, you’ll have to edit these projects.
- The test directory is for writing tests in Dart similar to Instrumented tests in Android using Espresso. Tests help you verify a component works without actually having do it yourself. There’s a sample test written for you which you can run and see how it works out.
Now, let’s move on to the code:
Step 3 : Understanding the default app and code
When the project is created, Flutter creates a default counter app for you. The app simply counts the number of times the floating action button is clicked. Take a look at the file main.dart. This is the driver file of the app.
Before diving deep into the code, we need to understand a fundamental concept in Flutter: Widget
So what is a widget? In Flutter every visible element, layout and even the app itself is a widget. This is roughly comparable to a View in Android but Flutter takes it even further. An image, text, layout, any visible element or structure is a widget. We build our screen in terms of these widgets.
Now lets see how it’s done in the default app 👀 .
This is the default code for the project. I’ve removed the comments for simplicity but I highly recommend you go through them. Even though this might seem a bit large at first for a default project, remember this is your entire project. There’s no separate layout file for this page. Android Developers can take a sigh here ! 😉
Let’s go through the important parts of the code.
First, you see the main function, which simply runs a new instance of the app itself. The “=>” notation simply returns a new app. For Dart notation and syntactic sugar I recommend going through their language tour, which I have given in the prerequisites of this article.
Now there is the app itself, which is named MyApp which extends a StatelessWidget.
There are two basic types of widgets:
-
Stateful Widgets
-
Stateless Widgets
Simply put, if a page is static with non-changing information, make it a Stateless Widget. If anything on a page needs the capability to change, make it a Stateful Widget. The main app itself is a Stateless Widget. The above applies for pages inside the app.
The build method builds the widgets themselves. Think of this as building the layout. In the MyApp class, we return a MaterialApp which is a widget which creates a Material App. These are convenience widgets made by the Flutter team to avoid a lot of extra boilerplate code.
return new MaterialApp(
  title: 'Flutter Demo',
  theme: new ThemeData(
    primarySwatch: Colors.blue,
  ),
  home: new MyHomePage(title: 'Flutter Demo Home Page'),
);
In the MaterialApp, the title, the theme and the home page is set. If you change the home: argument, you will change the first opening page of the app itself.
Now that the app is created, let’s take a look at the MyHomePage class which is the first page in the app.
The main difference is, this page is a Stateful Widget. This means we want to change something dynamically in the page, in this case, change the counter text when a button is clicked.
State just means the state of a page at a given time, which stores all the dynamic things on a page, like text entered in a text field, or the number of clicks for a counter. That’s why there’s a counter field in the state which stores the count.
In the build method of the MyHomePageState class, we actually build the page we see.
A Scaffold is a widget which simplifies the addition of things like AppBars (ActionBars), Bottom Navigation, Drawers. The default code has an AppBar, a floating action button and a body.
The body has a Center widget, which simply centres everything inside it on the screen. Inside the center widget, a Column is placed. A column is a linear, vertical arrangement of elements. (Similar to LinearLayout in Android)
new Column(
  mainAxisAlignment: MainAxisAlignment.center,
  children: <Widget>[
    new Text(
      'You have pushed the button this many times:',
    ),
    new Text(
      '$_counter',
      style: Theme.of(context).textTheme.display1,
    ),
  ],
),
A column contains an element called children in which all your elements to be vertically arranged are placed. Inside our column is some text for the counter itself.
That’s all for the layout of the app. We will deal with how the app updates after running the app.
NOTE: A child parameter simply defines what is inside a widget. A floating action button with a child as an icon simply puts an icon inside the button.
Step 4 : Running the app
To run the app start an emulator first. To start an emulator, select an emulator from the dropdown of the list of emulators. After the emulator starts, click the run button.
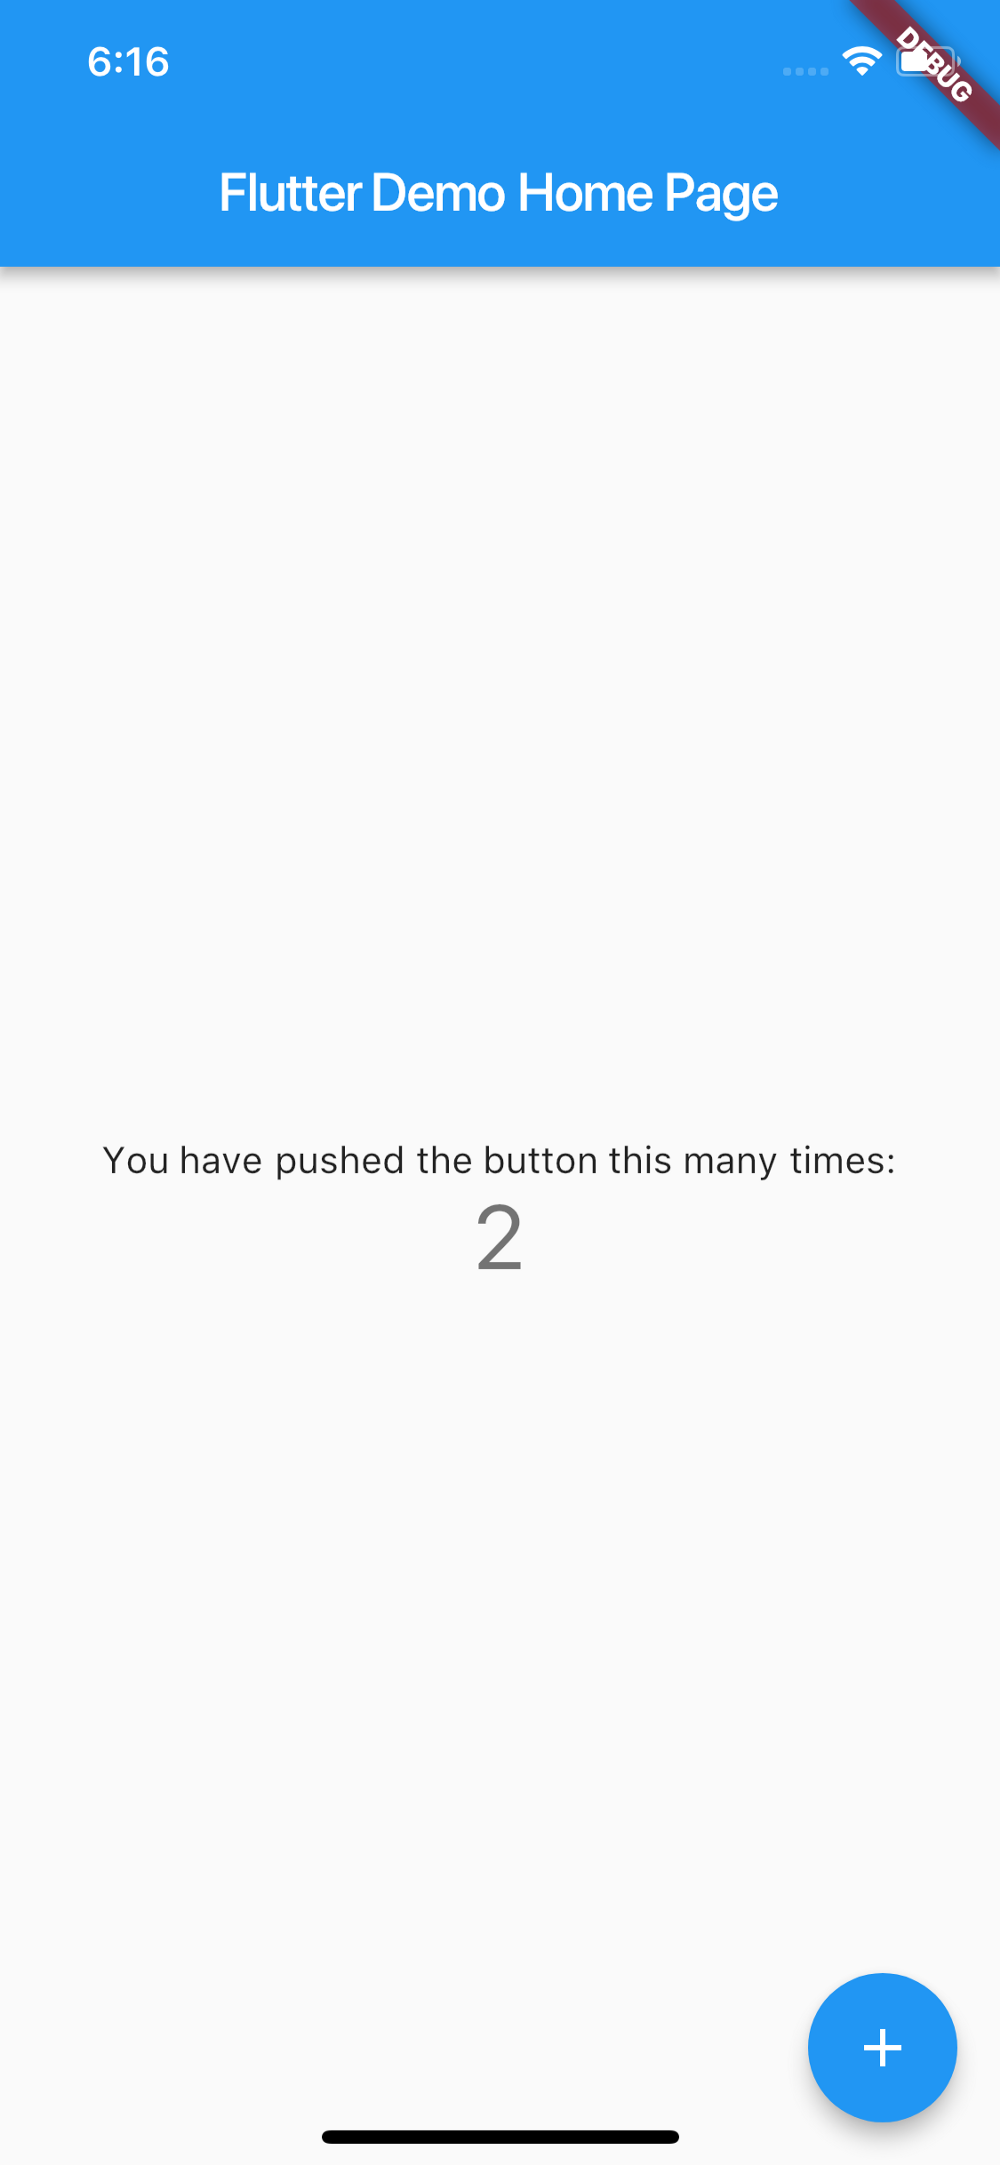
This is the app it brings up. Clicking the FloatingActionButton increases the count itself. Now let’s dive into how exactly that happens.
floatingActionButton: new FloatingActionButton(
  onPressed: _incrementCounter,
  tooltip: 'Increment',
  child: new Icon(Icons.add),
),
The FloatingActionButton has an onTap parameter which triggers a function called _incrementCounter() .
void _incrementCounter() {
  setState(() {
    _counter++;
  });
}
The increment itself is pretty straightforward. We have a variable called counter which stores the number of taps. But what does setState() do?
setState is a function which notifies the app that the page needs to refresh. Hence, without the setState(), the counter variable would increase but the text would stay the same.
setState() refreshes the entire page.
This was a lot of information to process, and it’s okay to read it a few more times to completely understand it. Try changing a few values to see how things work.
For Android developers: Notice how this system completely removes the need for IDs for views. Any change must be stored in a variable because unlike Java/Kotlin development, the text in a field cannot be fetched any time we want it from the view itself.💫
Conclusion
Flutter might seem hard at first because it’s a very sharp change from normal Android/iOS app development, but it simplifies a lot of things that bugged developers before.
Happy Fluttering